
Hi folks. This post is dedicated to the owners of NAS.
NAS are not particular safe, as they become targets to hacker attacks due to vulnerabilities due to "vendors don't give a sh*t". A common practice here is to block any access to NAS from the internet, which reduces their usefulness.
Here I show you one way to keep NAS secure while allowing access to it from the internet. I use a NAS from QNAP, but the approach is valid for other brands as well. Disclaimer: I am not responsible for your actions/losses and make sure you understand what you do.
The main ingredient of my solution is SSH. It allows remote connections to a server and offers configurations to minimize risks of unauthorized access. One such configuration is adding a 2-step authentication, which requires a temporal verification code.

Here are the steps:
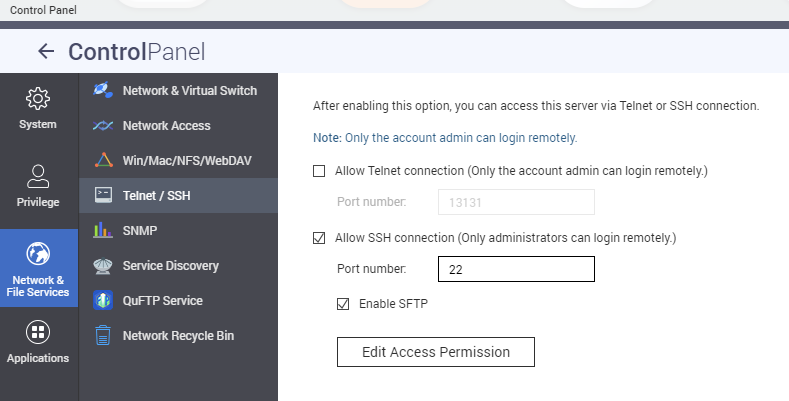
- Enable SSH in NAS.
This is the easiest step, can be done mostly from the web-ui of the NAS.
2. Install Entware.
Commonly, NAS run on a linux-based OS. These OSs are very limited in terms of available software. Entware solves this problem by allowing to install a great deal of linux-packages; yes, it is a package manager. The official website is https://entware.net/.
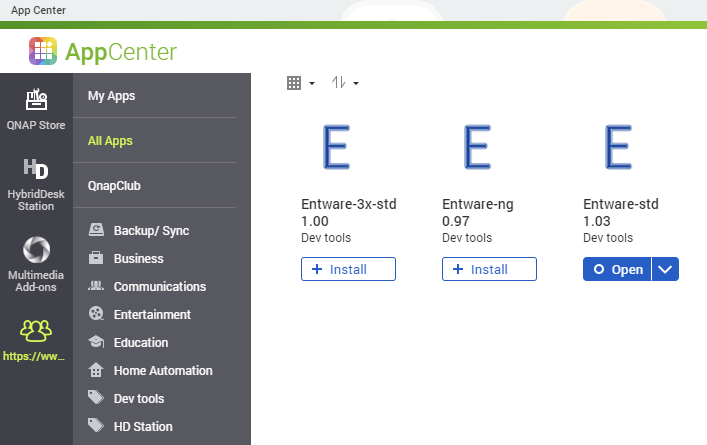
Before installing Entware on QNAP NAS, you have to add a 3-rd party repo https://www.qnapclub.eu/en/howto/1.
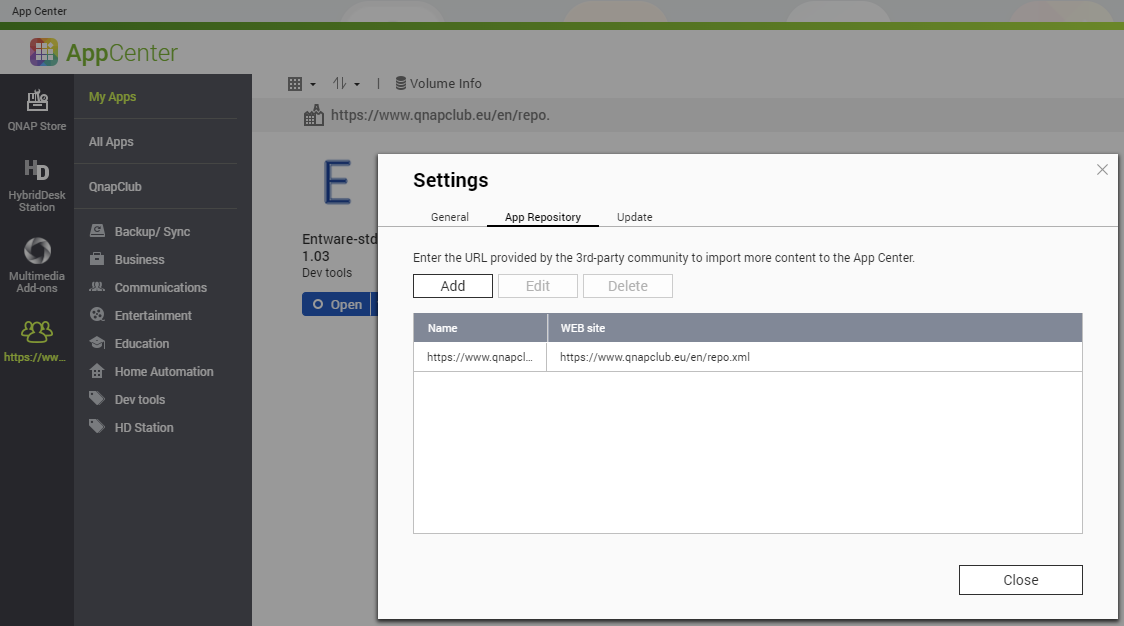
Afterwards, Entware can be found using the search box.
3. Enable 2-step authentication.
Usually, this is achieved by adding google-authenticator-libpam and tuning the SSH configuration. Here is a helpful tutorial.
Some NAS vendors, e.g. Asustor, already pre-install all required packages. The only task is to enable the method by setting "UsePAM yes" in sshd_config.
Other vendors, such as QNAP, make our lives extremely difficult and such easy modifications are not feasible. However, here I show the way to achieve our goal and enable the 2-step authentication on QNAP NAS TS-253D with firmware v. 5.0.0. The following subsections are about it.
3.1 Installing a separate SSH on QNAP NAS.
The big problem of QNAP NAS firmware is the tools and their configs are hard-wired in the firmware. Modifications of any parameters will not survive a system restart, as the defaults are overwritten. A solution here is to store all necessary packages away from firmware-important locations and wire the SSH user to use those packages only.
This means, that we have install a separate SSH-server, which will create a new SSH session for the user. This new SSH-server can and must be configured to enable the 2-step authentication. Here is an outdated guide for the firmware v. 4.2.0.
Let's start. Connect to the NAS using the default SSH and install the packages:
opkg install openssh-server-pam google-authenticator-libpam
After a successful execution of the command, the new binaries will be placed in /opt/bin and /opt/sbin. The contents of /opt survive during NAS restarts.
Add the bin folders to $PATH:
export PATH=/opt/bin:/opt/sbin:$PATH
This tutorial shows how to add commands to autorun.sh, which will be automatically started on NAS restarts.
3.2 Configuring the SSH server.
Execute the commands:
ssh-keygen -f /opt/etc/ssh/ssh_host_rsa_key -t rsa
ssh-keygen -f /opt/etc/ssh/ssh_host_dsa_key -t dsa
ssh-keygen -f /opt/etc/ssh/ssh_host_ecdsa_key -t ecdsa
ssh-keygen -f /opt/etc/ssh/ssh_host_ed25519_key -t ed25519
useradd --system --no-create-home sshd
google-authenticator
The last command will start a wizard to generate required tokens with QR-code needed for your OTP-app.
Add the following lines to /opt/etc/pam.d/sshd:
#Google Authenticator 2-step auth.
auth required pam_google_authenticator.so nullok
Update /opt/etc/ssh/sshd_config with:
Port 322
UsePAM yes
ChallengeResponseAuthentication yes
Lastly, update the autorun.sh with (this enables autostart of the new SSH server):
/opt/etc/init.d/S40sshd start
In case the server is not started yet, you can manually execute the command.
4. Expose the endpoint.
Once the SSH-server is started, you can try to connect to it using the internal IP of the NAS, e.g.:
ssh -p 322 {user}@{NAS_IP}
If you want to access the NAS using SSH from the internet, you need to set up port-forwarding on your router (and, likely, to talk to you provider to turn on the feature). Make sure that you port-forward the new SSH server with port 322 (with enabled 2-step auth). Otherwise, with the default SSH server exposed to the internet, you put your NAS and local network in a great danger!
Final thoughts
I showed you here how you can make your NAS more useful by enabling a secure access to it over the internet. SSH is the most important service and the key to further possibilities, such as:
- A remote network folder (over SFTP) to store and access your files.
- a remote desktop environment (over ssh -X).
- a private streaming service, where your own music/movies/shows can be accessed via Kodi/Jellyfin.
Please let me know in the comments, what you want to learn next.